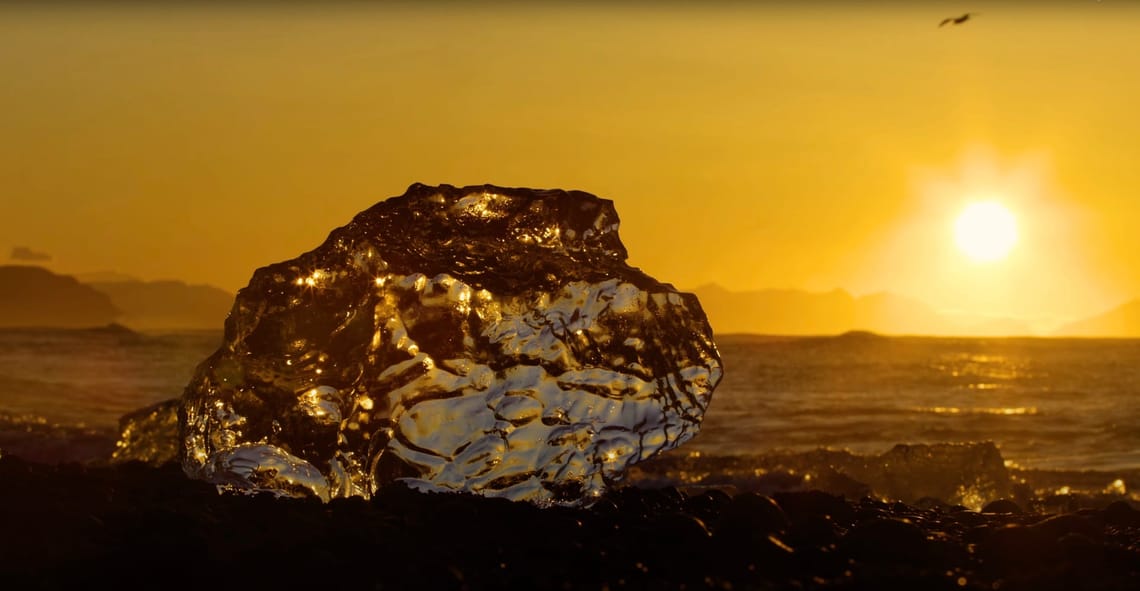
Secrets of Ice Photography: Winter Tips for Stunning Shots!
Hey everyone! So today, I thought we’d dive into something a little different—ice formations. I don’t know about you, but winter always gets me noticing the smaller details, especially with all the textures that pop out when things freeze over. Even regular stuff like leaves or pebbles look totally transformed under a layer of ice. It’s amazing! I’ll walk you through some quick tips on settings, gear, and ideas to really capture those unique winter scenes. Let’s get started.
Alright, first things first—camera settings. Nothing too fancy here. Just switch to ‘Landscape’ mode or, if you’re comfortable with manual settings, try ‘Aperture Priority’ with an f-stop around f/4. This gives a nice balance where you can get detail in the ice without the whole background getting too blurry or distracting. I usually keep the ISO pretty low, around 100 or 200. Ice and snow have so much texture, and a low ISO really helps capture that without adding noise.
Now, when it comes to lenses, you don’t need a huge telephoto for this. A zoom lens or a moderate telephoto works just fine. You want to be able to get close, but not so close that you’re practically lying in the snow—unless that’s your thing! And a quick tip: you can try leaving the flash off. Flash tends to create harsh glares on ice, and natural light just works better to bring out the softer details. But, be free to experiment with flash, as well.
Alright, let’s talk about getting the shot. When you’re photographing ice, you want to get close enough to see those tiny details, but not so close that it’s hard to keep things in focus. I’d say about an arm’s length usually does the trick. And for light tones—especially if it’s overcast—you might need a small exposure boost, like a third a stop to as much as a whole stop as needed, just to keep things from looking too flat.
A leaf looks like it’s been almost ‘preserved’ by ice around it. That’s what we’re going for—a lot of texture, a bit of shine, and a bit of mystery.
Ice is super versatile for photography, so play around with it! One of my favorites is photographing air bubbles trapped in the ice—they create these abstract, almost otherworldly patterns. Try shooting from different angles, and pay attention to how the light hits them. You’ll get different effects depending on the angle and intensity of the light.
Another cool idea: icicles. If you can catch them with sunlight coming through, it highlights all the little ridges and grooves. And if you’re get to see them melting, try a fast shutter speed to catch droplets as they fall. Those shots can look incredible!
And if you’re in the mood to get a little experimental, try going for a more abstract look. You can shoot ice up close in a way that makes it look totally out of context—like, you can’t even tell what it is at first glance. This approach can make your photos look pretty unique.
When it’s cold enough, you’ll see ice crystals forming on everything from leaves to rocks. These are perfect for getting those fine, delicate details. Use a medium depth of field to really keep the focus on the crystals and blur out any distracting background elements.
So there you go—some fun, simple ways to capture ice and winter textures. Honestly, I think winter is one of the best times for photography because everything looks so different from the usual. If you end up trying these tips, drop a comment or tag me in your video shots; I’d love to see what you come up with. And if you found this video helpful, a like and subscribe is always appreciated. Thanks for watching, and happy photographing out there!
