Create a Panoramic Image with Multiple Shots in Photoshop
Hey everyone,
Today, I'm excited to walk you through a fantastic feature in Photoshop that lets you stitch together multiple photos to create a panoramic image. It's a great way to capture landscapes or cityscapes when a single shot just won't do the scene justice.
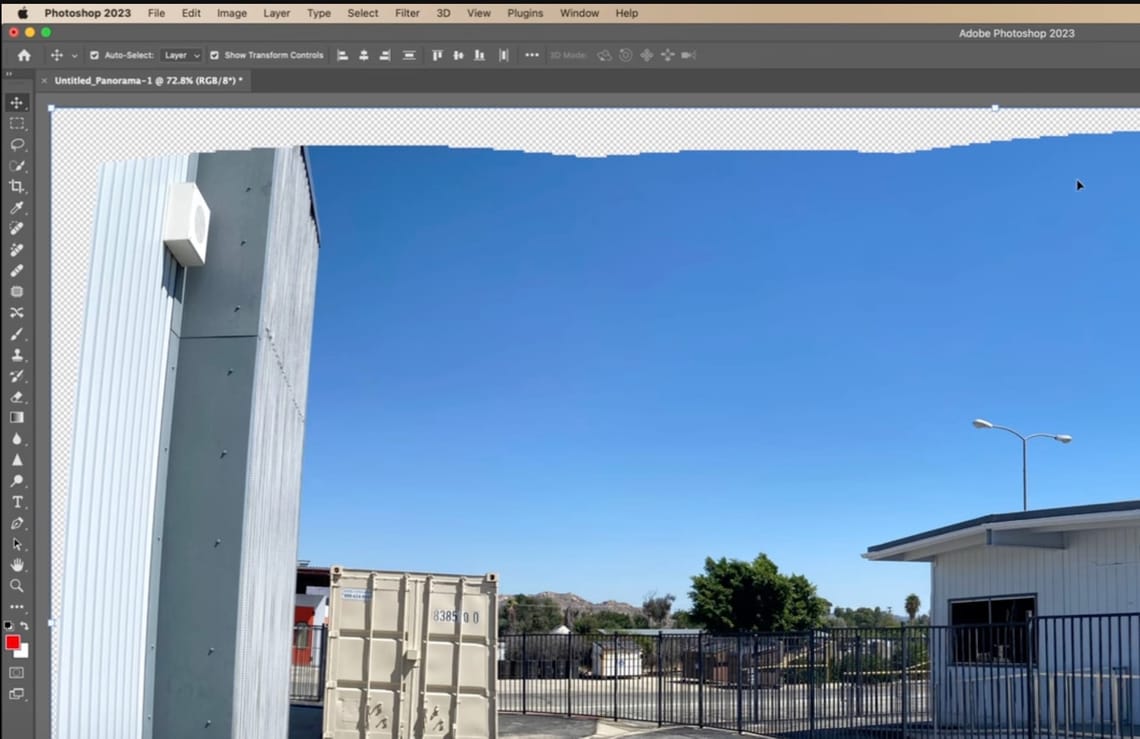
Using this technique, you can take several photos in a sequence, ensuring there's a bit of overlap between each shot. Then, with Photoshop's Photo Merge function, you can seamlessly blend these images into one stunning panoramic view. I'll guide you through selecting the right settings like vignette removal and geometric distortion correction to make sure your panorama looks as natural as possible.
We'll also explore how to use the content-aware fill option to automatically fill in any missing areas, giving your panorama a complete and polished look. It's like magic seeing the software work its way through the photos, stitching them together and filling in gaps to create a perfect panoramic shot.
After merging the photos, I'll show you how to make final adjustments, like cropping, to tidy up any uneven edges. The result? A breathtaking panoramic photo that looks like it was shot that way.
This tutorial is perfect for anyone looking to step up their photography game or just have fun experimenting with new editing techniques. Whether you're capturing the great outdoors or the hustle and bustle of city life, this method opens up new possibilities for how you present your view of the world.
Can't wait for you to try it out and see the panoramic possibilities yourself!
Catch you in the tutorial!
Cheers!