Create a Neon Glow on a Hand in Photoshop
Hey everyone,
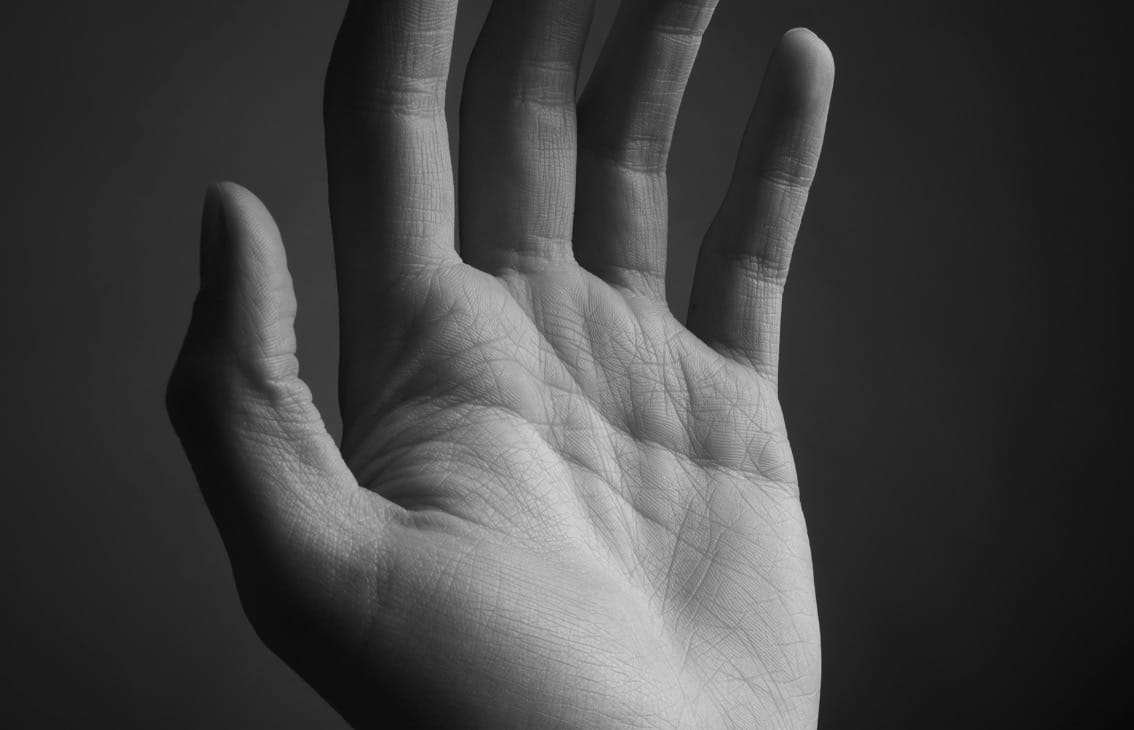
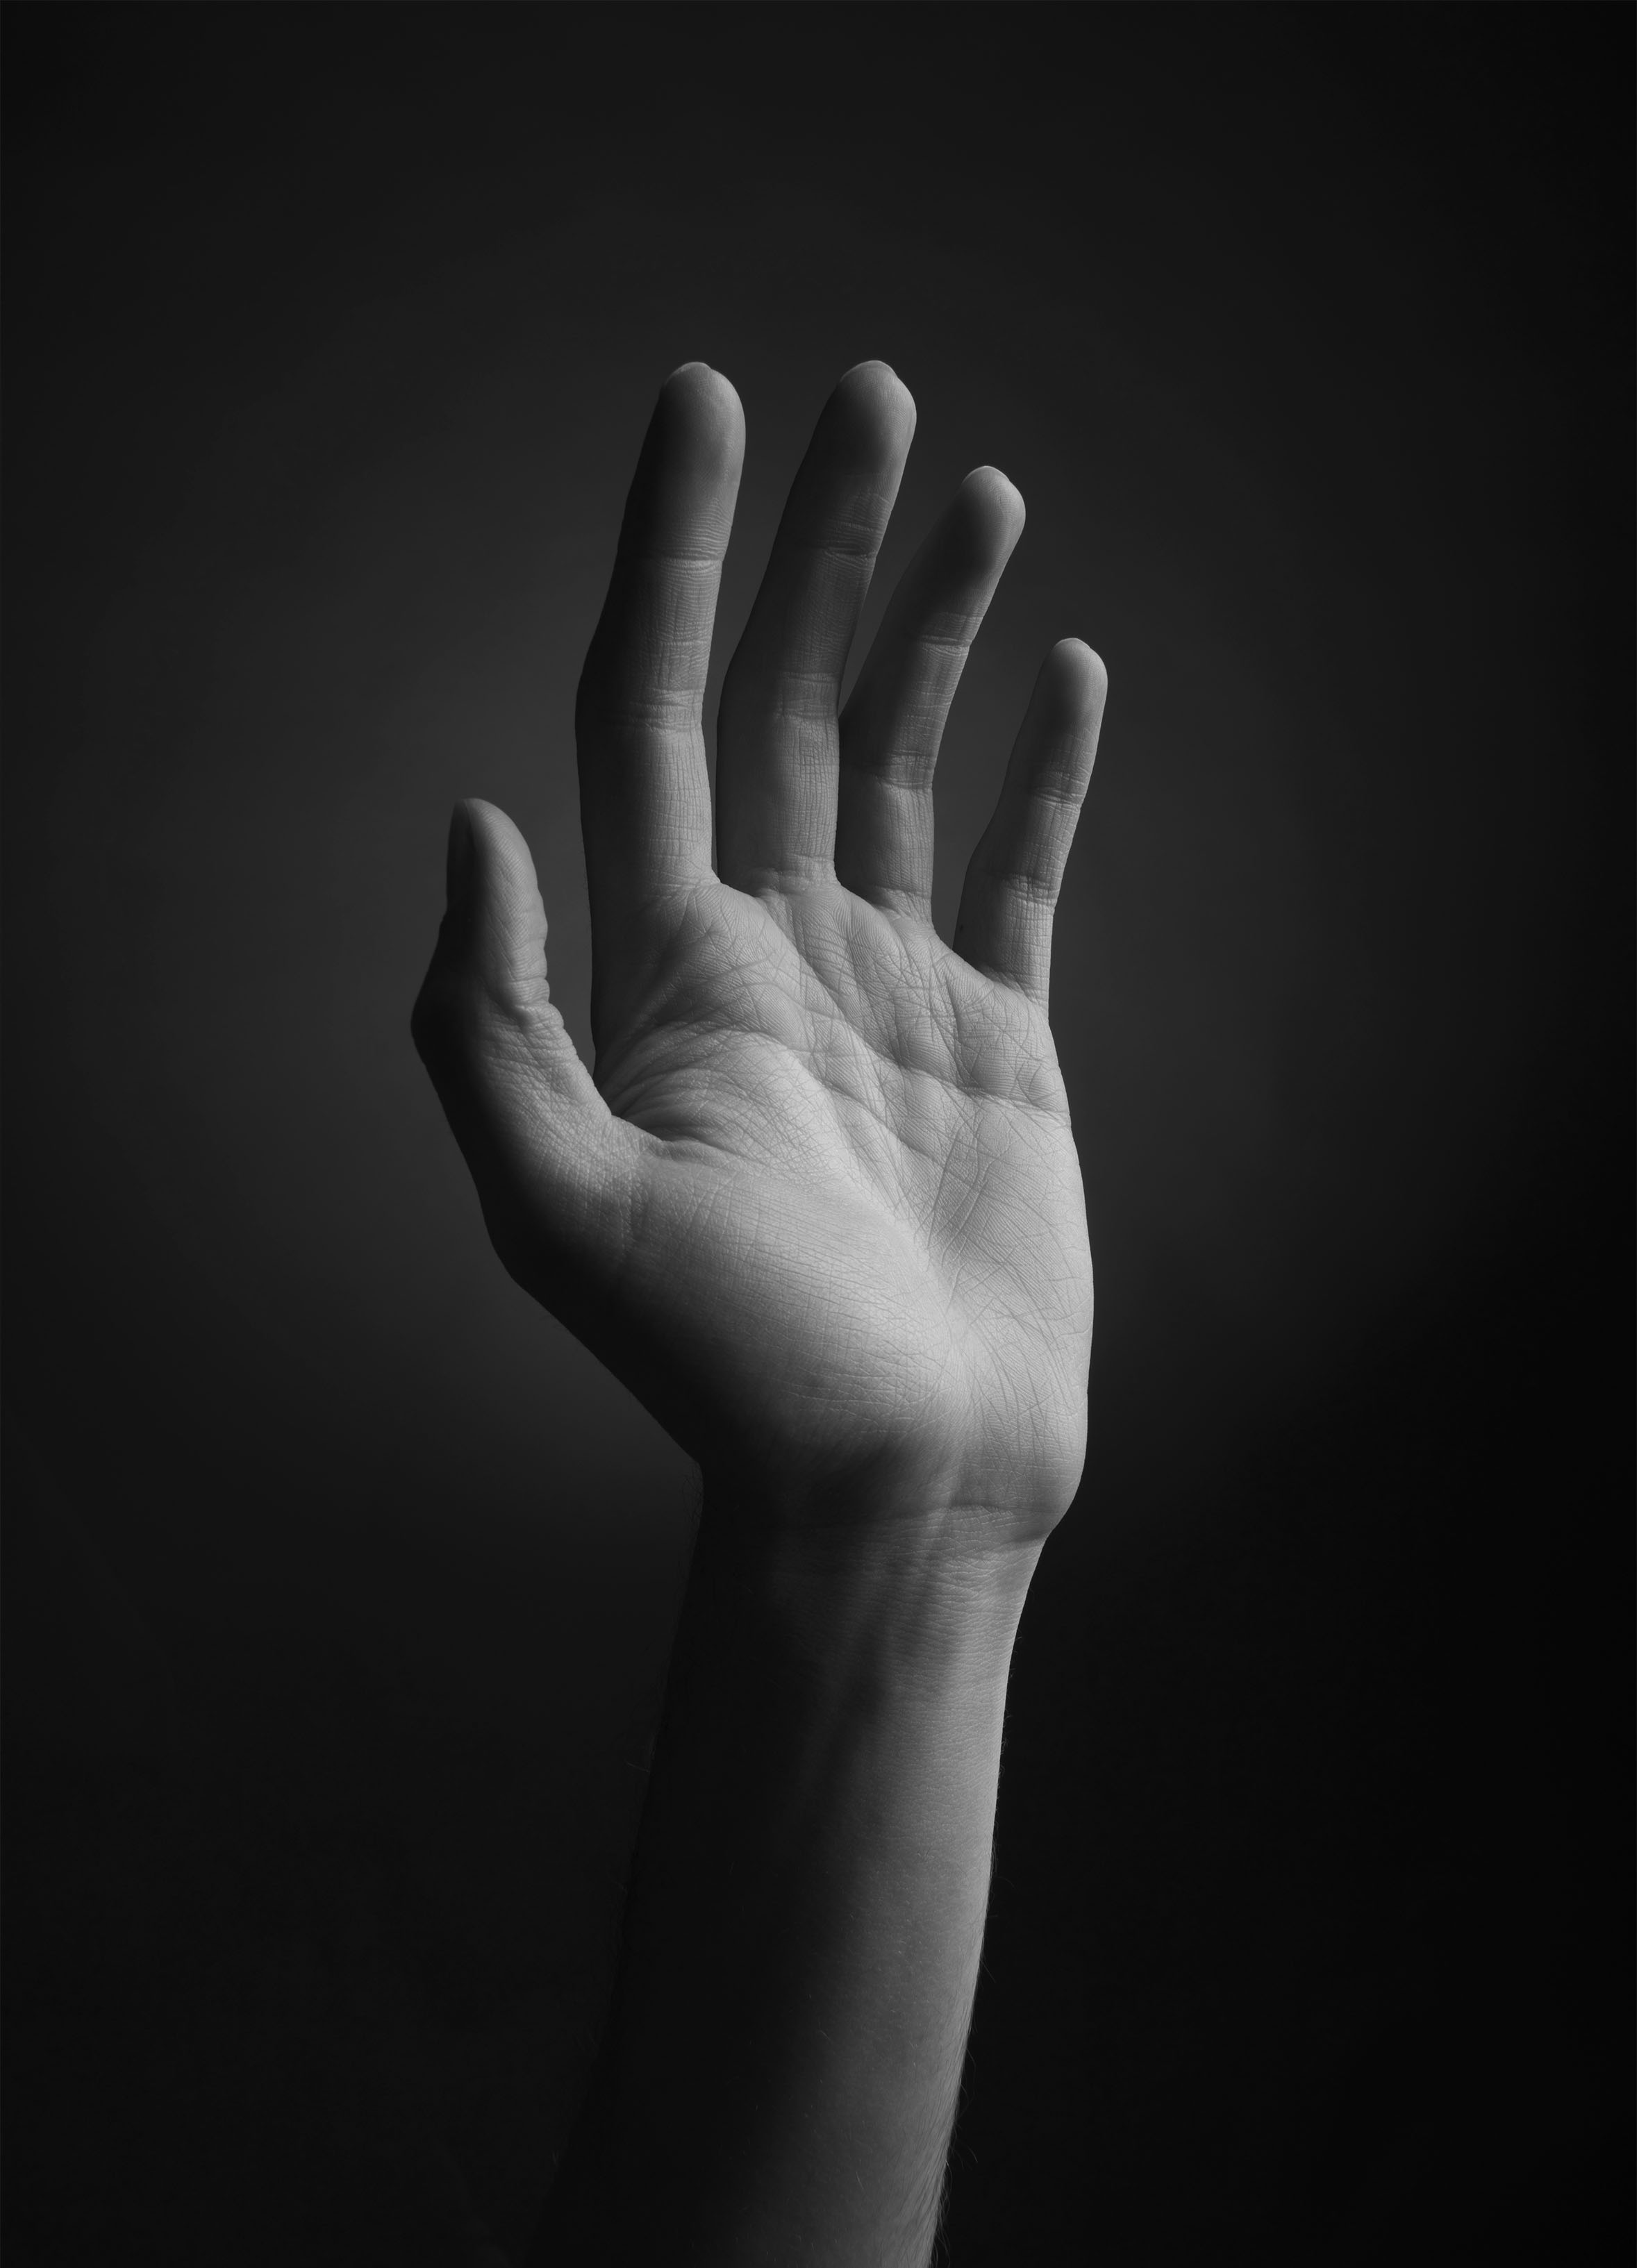
I'm excited to share a new tutorial where we dive into creating a neon effect in Photoshop. This one's all about adding some glowing lines to a photo, making it look like the neon is weaving around the subject. It's a cool trick to give your images a bit of a futuristic vibe.
We'll start with the basics, like duplicating layers and using the pen tool to draw shapes. Don't worry if you're not a pen tool pro; this is a great practice run. We'll tweak the shape to no fill and set the stroke to white, giving us the perfect base for our neon effect.
Then, we jump into the fun part—adding glow. I'll guide you through applying outer and inner glow layer styles to make our shape really stand out. We'll play with colors, too, so feel free to choose whatever hue strikes your fancy. I went with a vibrant pink magenta, but the sky's the limit.
To add some depth and make our neon look like it's interacting with the subject, we'll do a bit of strategic erasing. This step is key to achieving that three-dimensional look, making the neon appear to loop around fingers or behind objects.
Wrapping up, I'll show you how to save your masterpiece, whether you're keeping all those layers for future tweaks or exporting a final version to share online.
This tutorial is perfect for adding a bit of flair to your photos or just experimenting with some new Photoshop techniques. It's easier than it sounds and super satisfying to see your image light up with neon.
Hope you enjoy giving it a try!
Catch you in the tutorial!
Cheers!


