Combine images to create a composite with layer masks - Photoshop
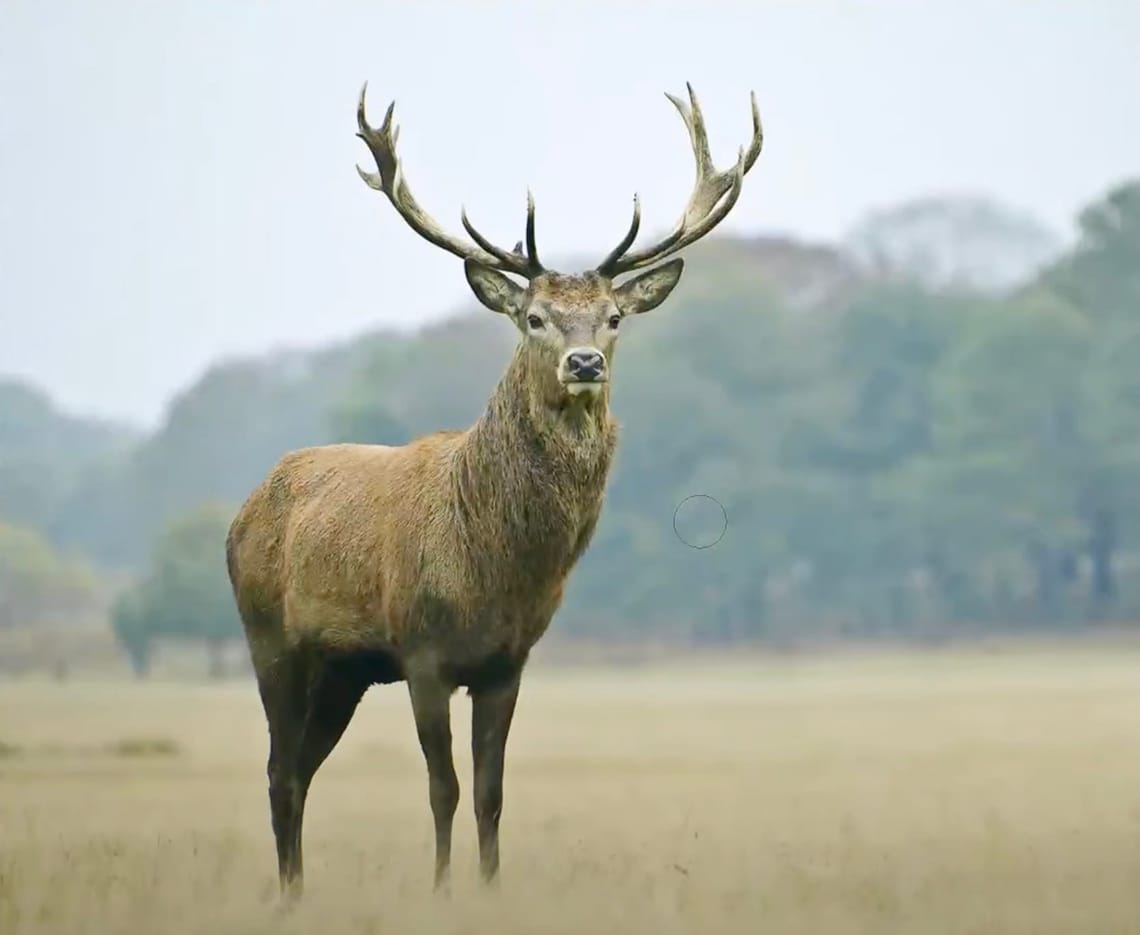
This comprehensive lesson on creating a composite image in Adobe Photoshop guides users through the process of combining a deer image with a branch, blending the elements naturally, and positioning them accurately. By following this tutorial, users will learn various essential Photoshop techniques, including:
- Utilizing Photoshop's "Select Subject" feature to automatically select the main subject and adding a layer mask to hide unwanted parts of the image.
- Adjusting the size and position of the subject for realism and making fine-tuning adjustments to ensure a natural look.
- Isolating the branch based on color using "Color Range" and creating a precise selection.
- Adding a layer mask to the branch layer and transforming the branch's position, rotation, and size using the "Free Transform" tool.
- Flipping, duplicating, and making further adjustments to the branch layer for a more realistic composition.
- Saving and exporting the final composite image in the desired format and quality.
Overall, this lesson empowers users with the skills to combine images, make selections, use layer masks, and transform objects to create a realistic composite image, enhancing their photo editing and manipulation capabilities in Adobe Photoshop.
