Hey everyone! 🌟
Dove into a Photoshop tutorial focused on adjusting brightness and contrast, perfect for beginners aiming to enhance dark photos and spotlight hidden details.
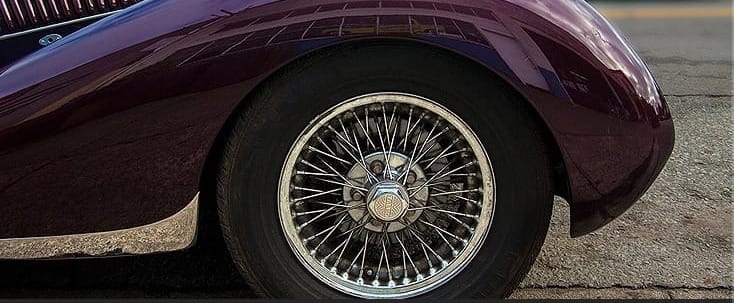
The tutorial guides you through brightening a dark photo by creating a new adjustment layer for brightness and contrast. This step significantly improves visibility and detail in shadowy areas. Adjusting the brightness makes the image noticeably lighter, while playing with the contrast adds depth and reveals subtle details without overdoing it.
Adjustment layers are key, offering the ability to compare the edited version directly with the original by toggling visibility on and off. This technique shines in its ability to illuminate dark images, making it an essential skill for photo editing.
Finally, the tutorial wraps with saving the enhanced photo in JPEG format, ready for any project.
This process is not just about lightening or darkening an image; it's about mastering light and shadow to reveal the full potential of your photos. Excited to see your illuminated creations! Happy editing! 📸✨