Add Noise or Reduce Noise in Photoshop
We are going to see how to actually add noise and remove noise.
For this picture, real quick, what we’re going to do is go up to Filter. First, click on the layer to make sure it’s selected. I’m on the layer, and I’m going to actually add noise to this photo. Go to Filter > Noise > Add Noise. Now, right here, I’m going to move to a spot where I can see an object really well. Sometimes, you might have to zoom in or out. I like this red little submarine here—this was Catalina Island—so I’m going to zoom in really close to see it clearly.
Now I can see the noise I want to add. You can change the settings to Gaussian or Monochromatic, depending on what you want. I’m going to select Uniform and add the amount of noise that I think looks good. Once you’re satisfied, click OK. If you press Command + on your Mac, you can zoom in further to see what the noise looks like.
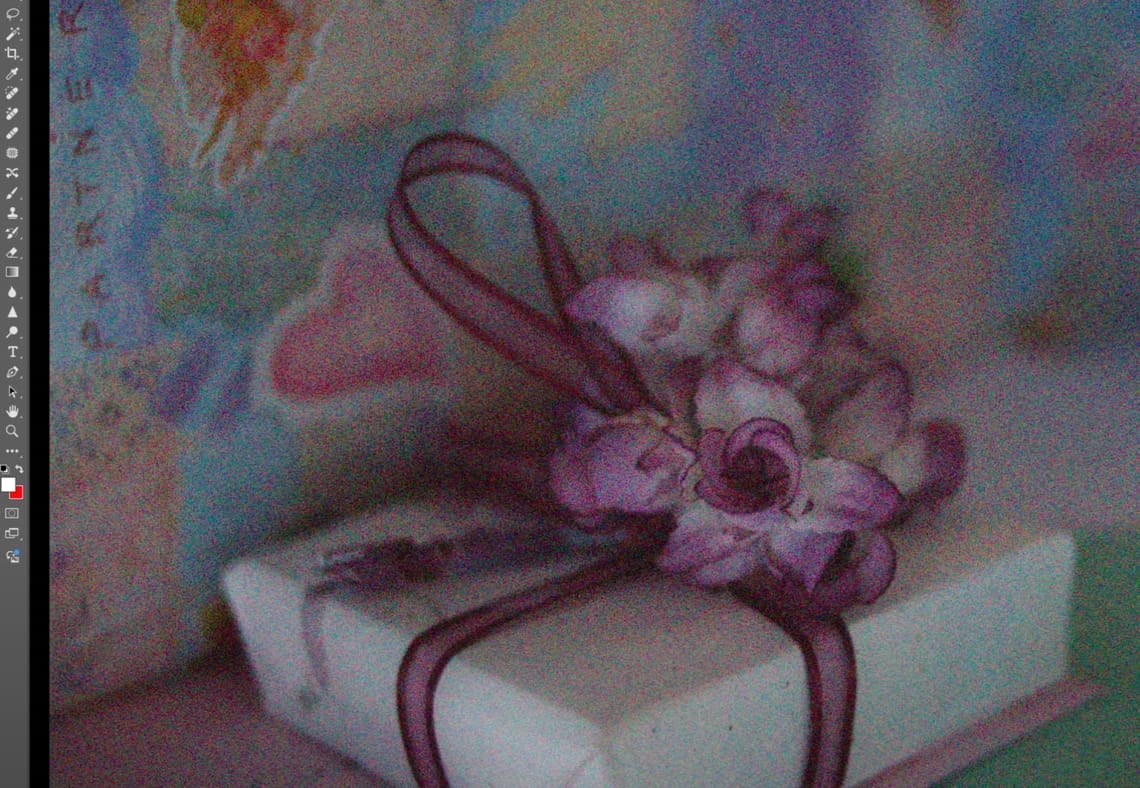
Now, let’s do the same thing—whoops! Command Z to undo that. I have another photo that already has a lot of noise on it. What I’m going to do is remove the noise.
To do that, first click on the layer to select it. Then, go to Filter > Noise > Reduce Noise. Now, move the view to a spot where you can see the noise clearly. Adjust the settings to reduce the noise. Sometimes, you might need to check the Remove JPEG Artifact option, depending on the photo.
I’m going to bring up the strength and adjust the settings until it looks good. If you reduce the Preserve Details slider, you’ll notice the noise is significantly reduced. It’s all about finding the balance that looks best for your photo.
There are Advanced and Basic options in this tool. Honestly, you might know more about the advanced settings, but for me, the basic settings do a good job. Look at the before and after—it’s a big difference! Sometimes, you might also need to bring down the Sharpen Details slider a little bit.
So, there you go! That’s how you can add noise and reduce noise in Photoshop.


